Let us be blunt with you: your photos are either making you money or costing you money. There is no middle ground. At PMU Society, we generate over 2,000 bookings every single month for permanent makeup artists across the UK, and one of the first things we look at when onboarding a new artist is their portfolio. Nine times out of ten, the reason an artist is struggling to fill their calendar has nothing to do with their skill level. It comes down to how they are presenting their work.
Your before and after photos are your single most powerful sales tool. They are the first thing a potential client sees, and they make a split second decision about whether you are worth their time and money. So let us walk you through exactly how to get this right.
Why Most PMU Photos Are Losing You Clients
Here is the uncomfortable truth. If your photos look like they were taken in a rush on a phone with a cracked screen, potential clients will assume your work is just as careless. It does not matter if you are the most talented microblading artist in your city. If your portfolio looks amateur, people will scroll right past you and book with someone whose photos look polished and professional.
We see this constantly. Artists with incredible technique but terrible photos, wondering why nobody is booking. Meanwhile, artists with decent technique but stunning photography are fully booked months in advance. Perception is everything in this industry, and your photos shape that perception before you ever get the chance to speak to a potential client.
The Golden Rules of PMU Before and After Photography
Always Place the Before on the Left
Our eyes naturally read from left to right. That means the transformation feels more impactful when the “before” sits on the left and the “after” sits on the right. This is not just a preference; it is how the human brain processes visual information. Every single one of your comparison shots should follow this format without exception.
Lighting Is Non Negotiable
Good lighting is the difference between a photo that looks professional and one that looks like it was taken in a cave. Natural light is ideal, but if you are working in a studio without large windows, invest in a ring light or a softbox setup. The key is consistency. Every photo should have the same quality of light so that when a potential client scrolls through your portfolio, they see a cohesive, professional body of work.
Avoid harsh overhead lighting that creates shadows under the brows. Side lighting can emphasise texture in a way that is unflattering. Position your light source directly in front of and slightly above the client’s face for the most even, flattering result.
Keep the Same Angle Every Time
This is where so many artists slip up. If your before photo is taken from slightly above and your after is taken straight on, the comparison is meaningless. Clients cannot properly appreciate the transformation if the angles are different. Use a consistent shooting position for every single client. Straight on, at eye level, with the camera roughly 30 to 40 centimetres from the face.
Consider marking a spot on the floor where you stand and a spot where the client sits. This might sound excessive, but consistency is what separates a professional portfolio from a messy one.
PMU Society helps permanent makeup artists generate 30 to 90 new bookings in just 90 days. Want to see how it works? Book your free discovery call here.
Get the Client Smiling in the After Shot
This is a small detail that makes an enormous difference. When the client is smiling in the after photo, it communicates confidence and happiness. It tells the viewer that this person is thrilled with their results. That emotional response is incredibly powerful for converting browsers into bookings.
Ask your client how they feel about their new brows or lips. Let them look in the mirror first. Capture that genuine moment of delight. A smiling after photo is instant social proof that your work makes people feel amazing.
Stop Over Editing Your Photos
We cannot stress this enough. Heavy filters and excessive editing destroy trust faster than almost anything else. Potential clients are savvy. They know when a photo has been airbrushed within an inch of its life, and it makes them suspicious about what the real results look like.
Your actual skills should be the star of the show. A slight colour correction to ensure the photo matches what the eye sees in real life is perfectly fine. But smoothing skin, altering brow shape in post production, or cranking up the saturation to make pigment look more vibrant than it actually is will backfire spectacularly. When clients arrive expecting the filtered version and see something different, you are setting yourself up for complaints and bad reviews.
Keep it genuine. Let your artistry speak for itself.
Building a Portfolio That Converts
Show Diversity in Your Work
Your portfolio should include a range of skin tones, face shapes, and brow styles. When a potential client visits your page, they need to see someone who looks like them. If your entire portfolio features one skin tone or one brow shape, you are limiting your appeal to a very narrow audience.
Make a conscious effort to photograph every client (with their permission, of course) and curate a portfolio that represents the full spectrum of people you serve.
Document Healed Results
Fresh results and healed results look very different, and educated clients know this. Including healed photos in your portfolio demonstrates transparency and builds enormous trust. It shows that your work stands the test of time, not just the first hour after the procedure.
Invite clients back four to six weeks after their appointment for a quick healed photo session. This also gives you an opportunity to check in on their results and potentially book a touch up.
Create a Consistent Visual Style
Beyond the technical aspects of each individual photo, think about how your portfolio looks as a whole. When someone lands on your Instagram grid or your website gallery, does it look cohesive and intentional? Or does it look like a random collection of photos taken at different times with different settings?
Choose a consistent background. Use the same editing style (minimal, as we discussed). Maintain the same framing and composition. This visual consistency signals professionalism and attention to detail, which are exactly the qualities a potential client wants in someone who is about to tattoo their face.
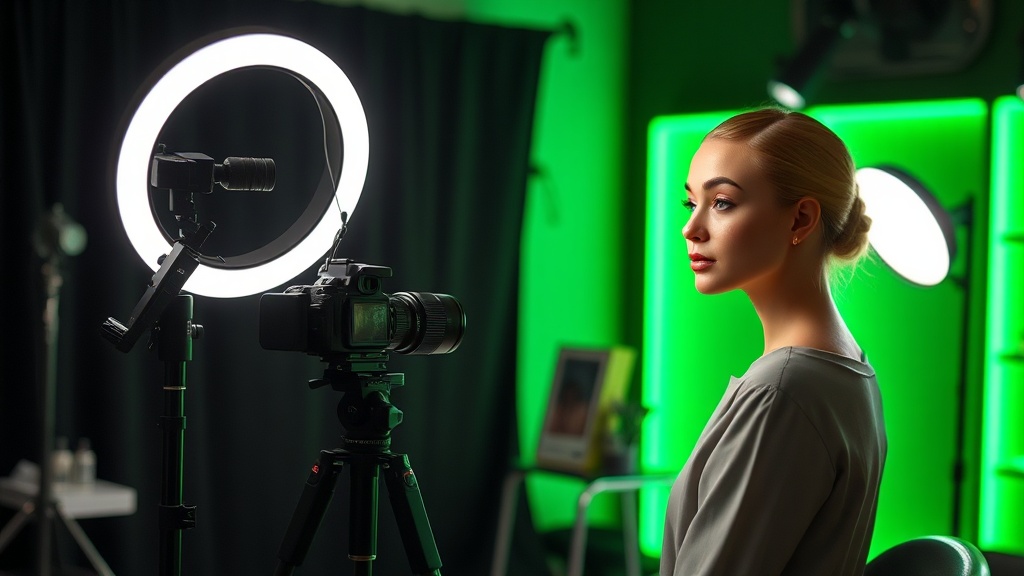
The Equipment You Actually Need
You do not need a professional DSLR camera to take excellent PMU photos, although it certainly helps if you have one. A modern smartphone with a good camera is more than sufficient if you use it correctly. The key factors are lighting, stability, and consistency.
Invest in a ring light (around £30 to £80 for a decent one). Get a phone tripod or mount so your shots are steady and at a consistent height. Use your phone’s portrait mode sparingly; it can blur brow details that you actually want to showcase. And always, always shoot in the highest resolution your device allows.
Using Your Photos to Drive Bookings
Great photos are only valuable if people actually see them. Post your best before and after shots consistently on Instagram and Facebook. Use them in your paid advertising campaigns. Feature them prominently on your website and booking page. Include them in your automated follow up sequences so that leads who have not yet booked are reminded of the quality of your work.
At PMU Society, we help our artists turn their portfolios into booking machines. The right photo, shown to the right person at the right time, can be the difference between an empty calendar and a fully booked month.
Ready to Fill Your Calendar?
PMU Society has helped over 100 permanent makeup artists build thriving, fully booked businesses. We generate over 2,000 bookings every single month. Let us do the same for you.
Get Started Today